
This past week we broke out our tie dye kit for a fun project! We used white sweat suits as our base but really you could use whatever you want to dye. With tie dye patterns being a major trend of the moment we thought it would be fun to create our own.

Here is our first disclaimer of many…make sure your piece of clothing you are dying is already washed. We skipped this step and found that the dye rolled off the material. Second, make sure to wear the plastic gloves! The girls did and came out with clean hands for the most part. I got to excited and got my hands right in there. Let’s just say a week and half later my cuticles are still dyed. Lastly, we aimed to make a cool swirl design but with the color rolling off we ended up with more of a random fun design. It still turned out super cool which goes to show that you can’t really screw this thing up! We washed ours after a day of drying and the color did bleed into the white parts but still looked great!
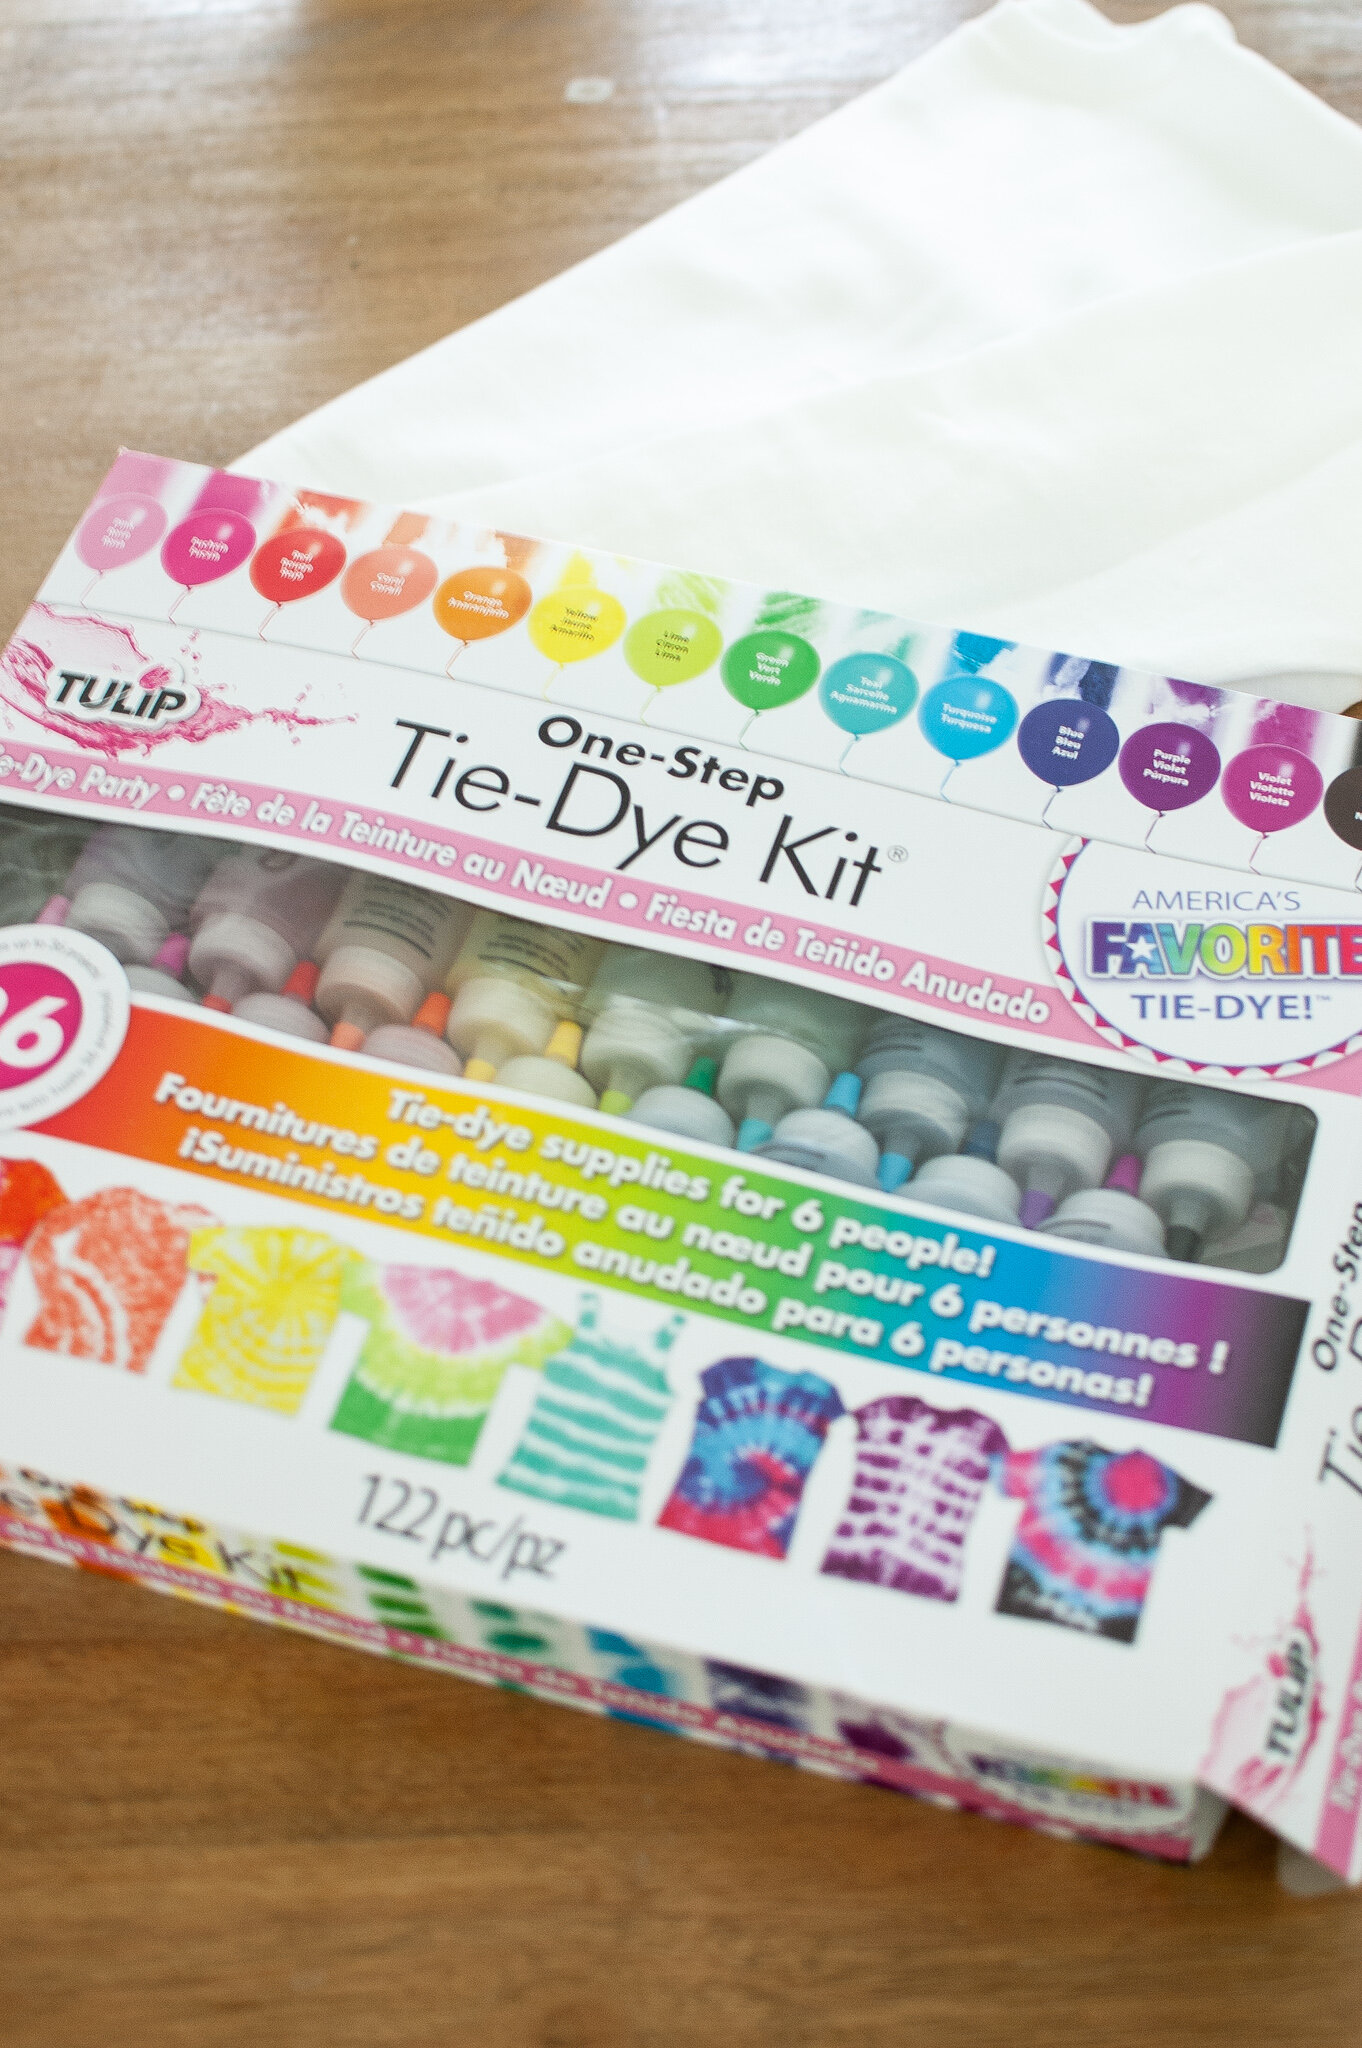
Step 1: Read all your kits instructions and decide on what design you want to try. This kit was great because it literally had everything we needed in it. We just added our white sweater.
Step 2: Pinch the center of the sweater and start rolling until you make a spiral.


Step 3: Using rubber bands section off the rolled sweater to divide into about 6 sections. This will help you control your color choices and also keep the sweater tight. Next decide on colors you want to use. Lay all supplies out on a plastic tarp and put your gloves on.


Step 4: Choose your section and colors and have at it. It’s okay if the colors bleed a bit. We used pink, yellow and teal and ended up with some orange and greens in there with the bleeding and it made it even better!

Step 5: Once all your die is on and you are happy with it, you can leave all coiled up to dry or unroll to see your design and dry flat.

Ta da!!!!!
